
Disclosure: This site is reader-supported & contains affiliate links. We may earn a commission through products purchased using links on this page. Learn more
Even a slight problem with a recliner’s working mechanism can deny you relaxation and stress relieving benefits. A typical cause of improper recliner functionality is a broken D-ring handle.
The D-ring handle allows adjusting the seat’s back angle, so it’s essential that it works properly. If your D-ring handle becomes loose or damaged, it isn’t easy to recline. This is why replacing your D-ring handle on time is necessary if it becomes defective.
This guide reveals how to replace the D-ring recliner handle in a simple process. So gather your new cable and handle a screwdriver, and needle-nose pliers, and let’s get to work.
Table of Contents
How Do You Replace a D-Pull Handle on a Recliner?
The majority of D-rings and flappers function similarly but differ in their placement. Flappers are mainly on the outside arm, whereas the D-pulls are in the cushions. Begin by locating and examining your handle.
Step 1: Examining the Handle
First, assess your handle, which is beneath the ottoman. It’s best to pull the handle’s lever or D-pull.
Step 2: Removing Handle Screws
After cushion removal, you’ll notice that your flapper handle stays in position, secured by two wooden screws. These screws are only available on the exterior arm.
D-pull handle screws are usually at the lever’s bottom, between the cushions.
Now, remove the screws with a screwdriver. Work carefully to avoid removing the handle and cable at this point. Allow your piece to hang. Don’t overdo this, as you’ll risk ripping the recliner’s fabric or leather.
Often, the screw won’t come with your new handle. So keep it somewhere secure in case you need it.
Step 3: Finding the Position of the Existing Cable’s Bottom End
After removing the handle, proceed to the cable’s bottom end (the one connecting to your recliner). To accomplish this, flip the chair upside down with its headrest touching the ground.
Place a sheet on your floor to protect the recliner’s leather or fabric.
With your recliner on its back, you can locate the existing cable’s bottom end.
The cable’s end connects to the mechanism’s release trigger at two points:
- S-shaped tip
- Mechanism release clip
Step 4: Disassembling the Trigger Mechanism
Once you locate the piece, next is unlocking the recliner’s locking mechanism. There is an s-shaped tip or tiny hook attached to your chair. You can do this by hand, but you must recall it later.
It’s best to also relieve tension in your recliner’s cables by detaching the s-tip. Doing this requires you to pull the trigger in your direction. Now, you must squeeze the lever’s clip that attaches to your recliner’s plastic cover cable.
Pull the clip loose with needle-nose pliers or a flat-head screwdriver. Remove the mechanism’s release clip from the slot. Don’t worry if this clip breaks because you won’t use it again.
Pull the mechanism out from the hole via the level side after detaching the release clip and S-tip. Be patient and determined while doing this.
Step 5: Attaching the New Pull Handle Cable
This process is the opposite of the steps above. Take your new mechanism and delicately insert the new cable back through the recliner’s side, similarly to the cable removal process. Pull the piece out from the underside.
Put the new clip in the old one’s slot. By carefully rocking the clip back and forward, you can secure it in place. Continue doing so until it eases into position perfectly.
Pull the mechanism trigger in your direction and plug your S-tip into the trigger’s hole. To conduct it correctly, you may have to push down the lever.
Step 6: Replacing the Handle
Ensure your recliner is upright. Plug its handle into the open spot. Be sure to align it with the holes. Lastly, return your two screws to their locations using a screwdriver.
Useful Reading:
Winding Up
With that, you are through with how to replace the D-ring recliner handle. What’s left is testing your cable and handle to ensure proper functionality.
If there are still hitches, you most likely messed during replacement. To fix it, retrace your steps and make necessary corrections.
Sit back and unwind in your recliner. Pull its handle severally to ensure it runs smoothly without getting stuck.
Author
Recommended Reading
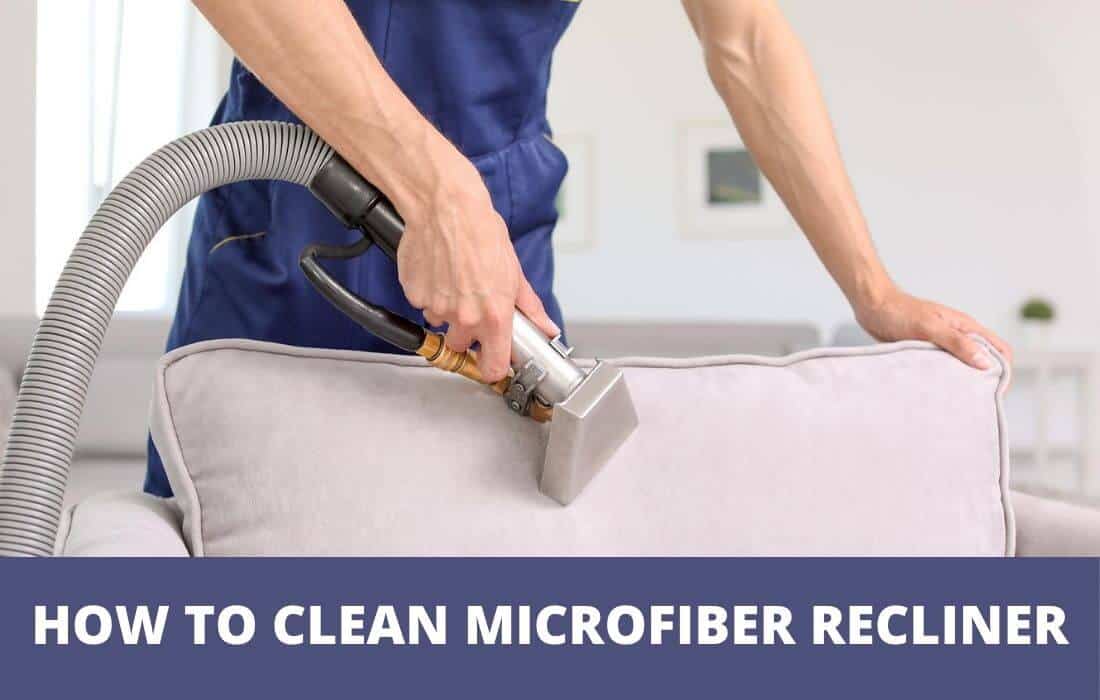
How To Clean Microfiber Recliner (Pro Guide)
Get a bang for your buck by learning how to clean microfiber recliner. It’s easy, quick and quite affordable. Enter to read our pro guide.

Pros And Cons Of Sleeping In A Recliner (In Details)
Thinking of turning your recliner into your new bed? Here are the pros and cons of sleeping in a recliner. Put them on a “weighing balance” before you kick off.
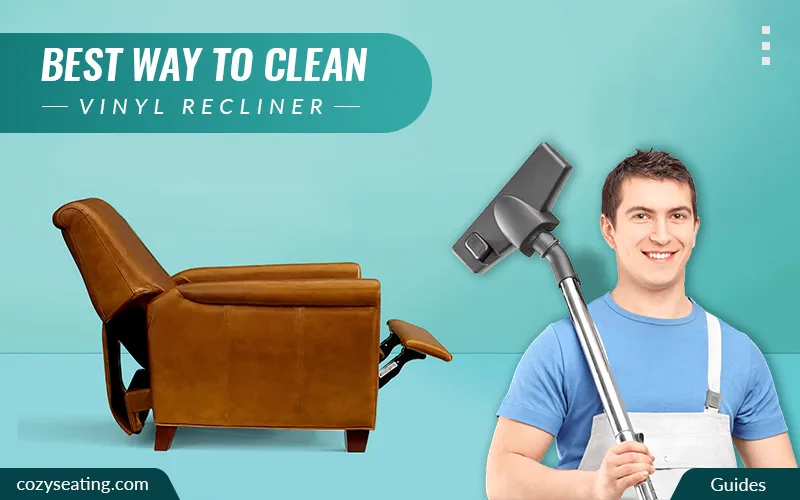
Best Way to Clean Vinyl Recliner (Pro Guide)
Want to keep your vinyl recliner in a mint condition? Here is the best way to clean vinyl recliner - for both soft and hard vinyl.
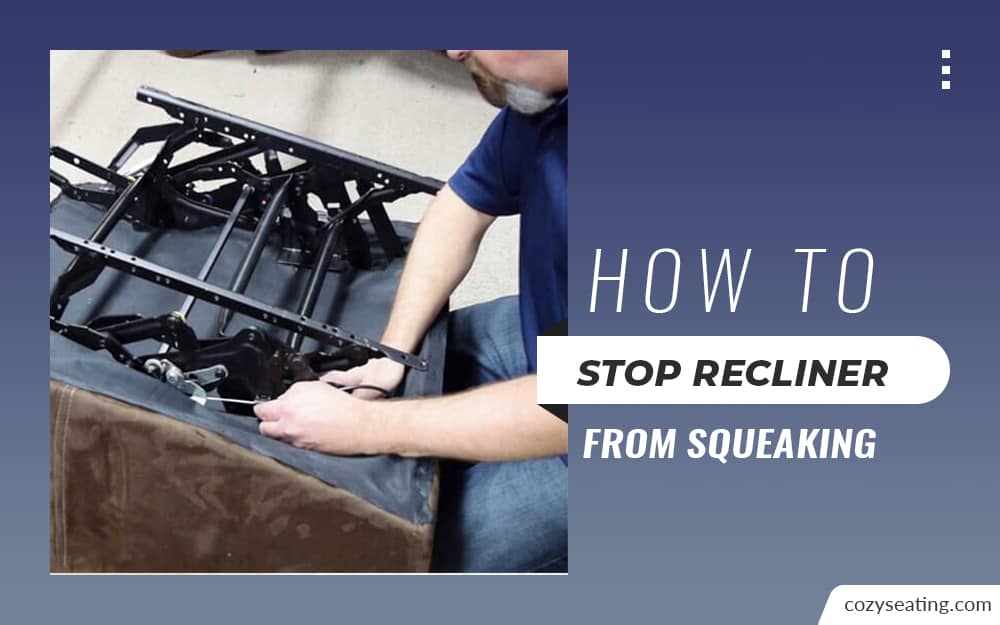
How To Stop Recliner From Squeaking
While recliners are a great source of comfort, they can also be a nuisance if they squeak. This article explains how to stop recliner from squeaking.
Leave a Comment
Subscribe
0 Comments