
Disclosure: This site is reader-supported & contains affiliate links. We may earn a commission through products purchased using links on this page. Learn more
It doesn’t matter whether it’s a coat, furniture, or car interior leather, it can tear. Ooh unto you if you have pets. Leather is prone to pet tears and scratches. Sadly, even the smallest tears can run out of hand if not fixed on time. On the other hand, you don’t have to replace a leather recliner that is worth dollars because of a tear.
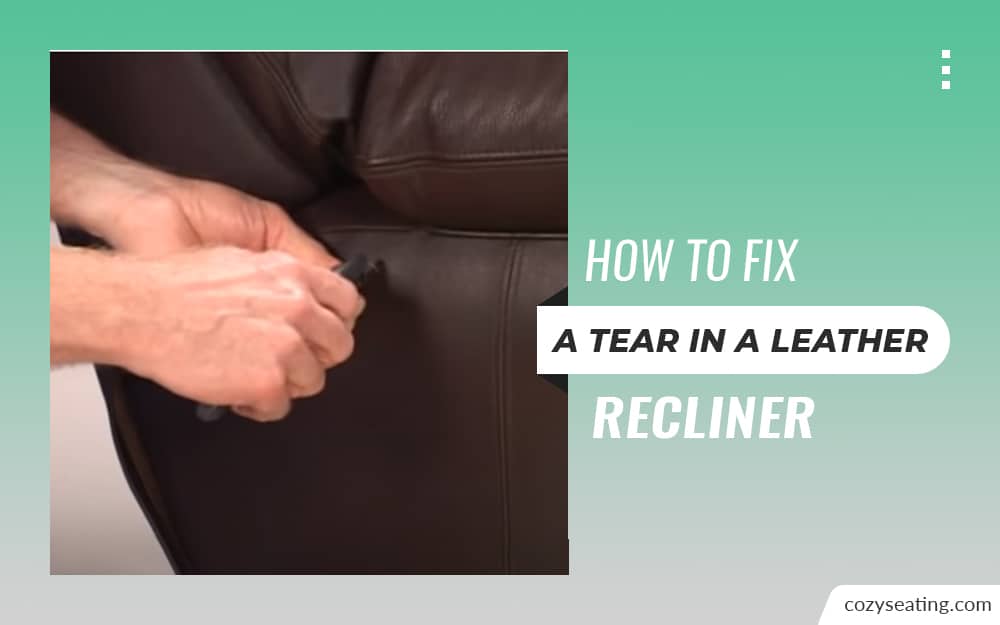
Tears on leather can be repaired. But how to fix a tear in a leather recliner? Fix a tear in a leather recliner by using a fabric scrap or iron-on patch and leather liquid repair. To fix a big tear in a leather seat, cut a bigger fabric than the cut by about ½ inches and fix it under the tear.
Heads up: this article primarily focuses on how to fix a tear in genuine leather, which is a product of animal skin.
But…
Table of Contents
Can Tears In Leather Be Repaired?
Absolutely, whether it’s a small cut, punctures or holes caused by pets and curious kids, scratches, or simply wearing out due to age, tears in leather can be fixed. You can use various techniques. Depending on the size of the tear, the darning or mending technique could work to fix any tears in a leather.
Also, for some tears, simple liquid leather glue would be enough but for others, a complete leather repair kit may be a necessity.
How To Fix A Tear In A Leather Recliner
Now that all leather furniture can be repaired, how do you go about the process without messing up your cozy leather recliner?
Step #1: Preparing The Area
The first thing when fixing a tear in a leather recliner is to clean the torn area. Mix mild water and white vinegar (mix equal parts). No white vinegar? No trouble, use apple cider vinegar instead. However, apple cider vinegar is good for people who have no issues with a strong scent.
Step #2: Clean
Use a clean towel, preferably made of cotton. Deep it in the vinegar solution, wring the solution, and wipe the area around the tear. Debris and dust make it difficult for the adhesive to work accordingly. So, cleaning makes the adhesive work well.
Using a circular motion, gently clean the affected area without making it dump lest the repair process becomes difficult.
Step #3: Allow To Dry
Repairing a dump leather is hectic and difficult. So, after cleaning the affected area, use a dry towel to dry the area. Ensure that the surface is completely dry. You may allow it a few minutes to dry fully after drying with a towel. (Here is a guide on how to clean leather recliners)
Step #4: Trim Off Frayed Edges
Using a pair of scissors, trim all the frayed edges before starting the repair. Smooth edges are suitable as they hold strongly to the adhesive.
Step #5: Add A Patch
Again, using a pair of scissors, cut a patch that is slightly larger, probably by about ½ inches, than the tear on your leather recliner. For best results and for the patch to stick well on the torn area, cut rounded edges.
Fit the new patch under the tear, it acts as a layer of substrate for the filler.
Step #5: Insert The New Patch (Preferably, Denim Piece)
Using one finger, slightly lift one side of the tear and insert the new patch inside (the shiny side should face up). Using one or two fingers, flatten the new patch so that it lies evenly without forming curves.
If you encounter any challenges in making the patch flat, use a pair of tweezers to smoothen it. While at it, ensure that the patch fully covers beneath the tear.
Step #6: Stick It
Stick the new patch to the leather around the tear using vinyl fabric glue or glue that is specifically meant for leather. You may check the user manual for your seat to be sure which is the right glue to use in your leather.
Squeeze a drop of glue and apply it on a large needle, toothpick, or cotton swab. Be careful not to spill glue on your eyes or the leather. You may use protective goggles to keep you safe. Have a paper towel beside you to wipe any glue spillage on the chair.
Step #7: Apply the Glue Evenly
Apply the glue evenly by spreading it using the needle, swab, or toothpick. To do this, you’ve to lift one of the torn sides so that you can apply the adhesive in between the patch and the leather.
Avoid having any excessive glue so that it can get outside the tearing, in case of any, wipe it.
Step #8: Bring The Sides Together
Place your hands flat on the area around the new patch and gently bring the two sides together. Be careful so that ridges and bumps won’t form as you bring them together. In case they form, don’t worry, separate them again and bring them together again.
If there is any excess glue, carefully wipe it with a paper towel.
Step #9: Allow the Glue to Set
Applying minimal pressure, gently place a board against the tear you just fixed. Do this for about three to five minutes to give it enough time to set.
Step #10: Allow to Dry
After the glue has set, leave the adhesive to dry. One hour should be enough. After that, test to check if the tear is fully fixed plus if the adhesive is fully dry. However, if the tear resumes, it’s likely you didn’t apply enough glue or you didn’t give it enough time to dry. So, reapply enough glue. Again, allow enough time to dry.
Step #11: Clean The Surface
After confirming that the surface is completely dry, use denatured alcohol to clean off any excess glue. If there is any oil or wax, alcohol will clean it off, too. This gives the filler a good environment to adhere well.
Step #12: Fill Any Opening
To fully fix big tears in a leather seat, fill every opening with a filler, preferably soft. A palette knife would be ideal for this task. Fill all the edges around the tear. Hold the smoothing board at an angle. Next, gently grade over the fill so that it can smoothen.
Using your fingers, feather out the edges.
Step #13: Leave To Dry
Leave your leather recliner to dry. Depending on how you’re drying it, 20 to 60 minutes could be enough. If you use an incandescent bulb to dry it by suspending it near the fixed area, it may take only 20 minutes to dry. Be careful, though, not to have the bulb too close to it lest you have bubbles forming on the filler, thereby making it lose.
If you don’t use a bulb to quicken the drying process, allow enough time, probably, an hour for the filler to dry well.
Step #15: Test The Filler
Check if the filler is fully dry. Use your fingers. If it feels solid after you press, then it’s dry. You can also check if it’s translucent as that’s another sign that it’s fully dry.
Step #16: Finalise
Using 220-grit sandpaper, you can smoothen any areas that seem to be uneven. Sandpaper makes the place dusty, so finalize by using a damp towel to wipe away all the dust.
How Do You Fix A Big Tear In A Leather Seat?
The process of fixing a big and small tear in a leather seat is the same. Even so, to fix a rip in a recliner, you need to add more layers of filler.
So, once you’ve followed all of the 16 steps discussed above, add one or more layers of filler. The number of layers you’ll have is determined by the size of the tear. The bigger the tear, the more the layers needed.
NOTE: After every layer, smoothen out the area using a smoothing board and give enough time to dry before adding another layer. Once again, use the sandpaper to eliminate rough areas then wipe with a damp towel.
Related Articles
How to Make a Slipcover for a Recliner
How to Cover a Recliner With a Sheet
Leather Vs Fabric Recliner: Which One Is the Best Material?
FAQs
Does JB Weld work on leather?
Yes, JB weld works on leather, effectively. It’s suitable for repairing minor leather tears and cracks. These tears shouldn’t be longer than ½ inch wide (2” in length). JB weld is commonly known as a ‘no-heat-to-cure’ solution. Why? It doesn’t need any conventional heating irons to fix tears on leather. No heating tools, too, are needed when using it.
Closing Remarks
Congratulations! You just did it all by yourself! The previously torn area should now be soft and unnoticeable by your guests.
Though it can be a scary job at first, once you know how to fix a tear in a leather recliner, it becomes such an exciting task.
Just ensure you have the right tools when getting started. Don’t be in a hurry to sit on your leather recliner, so give the area you just fixed ample time to dry to avoid redoing the whole thing again.
Author
Recommended Reading
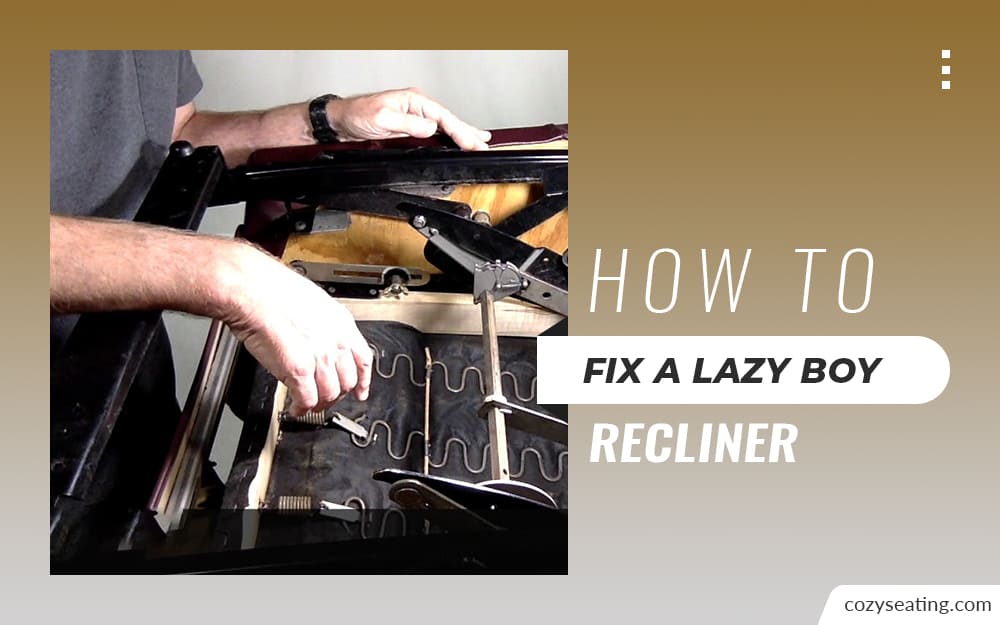
The Ultimate Guide on How to Fix a Lazy Boy Recliner
Lazy Boy recliners are a popular brand of recliner. If you have a Lazy Boy recliner, you may have problems with it. Here's how to fix a Lazy Boy recliner.
How to Find Your Most Comfortable Recliner?
Looking for the most comfortable recliner? Here is everything you need to know on how to find one.
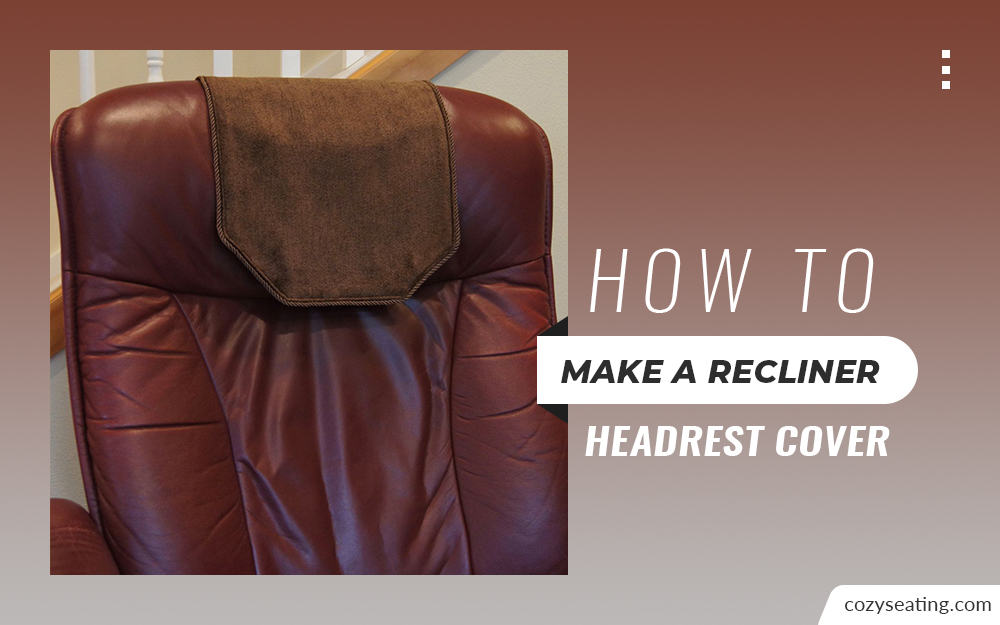
How to Make a Recliner Headrest Cover
Headrest covers are amazingly easy to make–only to take the measurements correctly. Herein, learn how to make a recliner headrest cover and do it like a pro!
How to Stop a Swivel Recliner from Swiveling
Swivelling chairs are not only uncomfy to seat on, but they’re also life-threatening assets. Learn how to stop a swivel recliner from swiveling here.
Leave a Comment
Subscribe
0 Comments