Disclosure: This site is reader-supported & contains affiliate links. We may earn a commission through products purchased using links on this page. Learn more
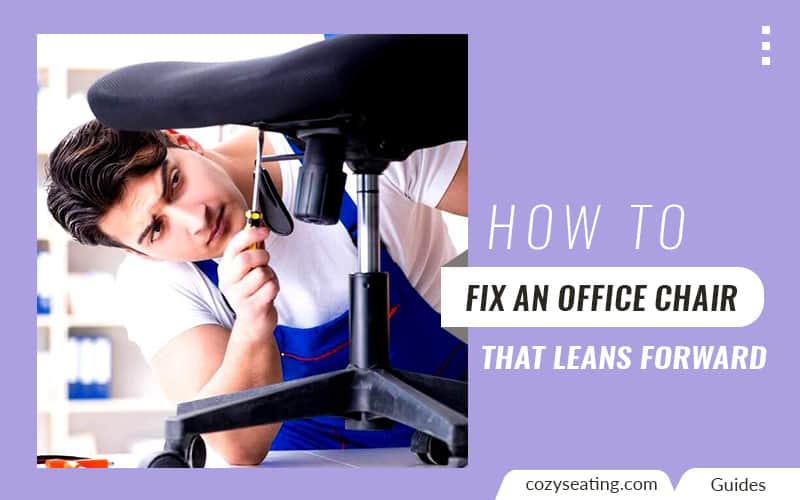
If you thought improper posture only caused back and neck pains, think again. Did you know your bad mood at work, headache, and breathing can worsen thanks to poor posture? Hence, your chair needs a quick fix in case it leans forward.
Delve in for top tips on how to fix an office chair that leans forward.
Some chairs tilt forward due to faulty tilt levers, seat plates, front casters, or missing screws. Office chairs should tilt forward moderately as too much may harm you. That said, you keep your office chair from leaning forward by replacing lost and broken parts and repairing your tilt lever.
Table of Contents
Why Do Some Chairs Tilt Forward?
Some chairs tilt forward because of their ergonomic design that also includes a forward tilt mechanism. In a nutshell, a forward tilt mechanism allows you to adjust the angle of your seat pad.
This mechanism is excellent for people who draw a lot on their desks, write, or type as it makes you sit in an upright posture.
Besides the tilting mechanism, your chair may also lean forward due to your forward tilt knob being:
- Loose
- Broken
- Dislocated
- Stuck
Furthermore, broken or disfigured front casters may result in your office chair leaning forward. Note that sitting on an uneven surface may result in your chair tilting forward. Therefore, sit on a flat surface to ensure that your wheels are to blame for the forward tilt.
Finally, your chair may lean forward if you have a damaged or faulty seat plate.
Should Office Chairs Tilt Forward?
Some ergonomic office chairs come with a forward tilt mechanism which is excellent when used moderately. This mechanism adjusts your seat angle, allowing you to position your seat’s front backward or forward.
In proper application, a forward tilt mechanism helps you obtain an ideal working posture. Because of this, it counters body strain and helps you attain a suitable working posture.
A proper posture ensures optimal blood circulation to your legs, reducing the likelihood of tingling and pain.
What’s more?
Sitting in a good posture reduces the prevalence of neck pains and lumbago.
Nonetheless, excessive forward tilting aligns your spine in an unnatural position, which circumvents the benefits of properly using this mechanism.
As a rule of thumb, sit with your back upright and your legs planted on the floor at 90-degrees.
How Do I Keep My Office Chair from Tilting Forward?
Before going into complex fixes, confirm that your problem does not arise from your tilt knob or casters. Also, you should note if any screws are missing, especially around screwed wheels and the seat plate, and replace them.
Fixing Caster and Seat Plate Issues
Check your chairs’ front casters when positioned on even ground. If one of the front casters is broken, your chair tilts forward but towards that wheel. In effect, one of the wheels in the rear rises. If both front wheels have an issue, all of the casters touch the ground.
Disfigured or broken wheels need replacement. Measure your current wheels and order an identical set to replace them.
Another way to prevent your chair from leaning forward is to check that your seat plate has all screws and bolts and replace the lost ones. Also, replace the plate if deformed.
Tilt Knob Fixes
If your forward tilt knob is loose, fasten it and check whether the issue is still present. To tighten the forward tilt knob, twist it clockwise.
Sometimes your tilt knob may fail to bulge no matter how hard you push or pull. The cause for this may be rust, dirt, or a combination of these two.
You need to clean a filthy tilt knob to prevent forward tilting. And this means you have to dismantle your chair as you have to access the mechanisms’ housing.
While it is unnecessary to remove the seat, doing this eases access to the tilt knob.
You should see the various knobs and levers your chair uses to perform its ergonomic functions. Locate the knob linking to your chair’s forward tilt knob.
Use WD40 to wipe away dirt and rust particles. Your knob should turn free once cleaned. Put everything back and test whether it works.
In case the pin is out of place, reposition it. Attach the pin with a clamp or glue to stop it from dislodging once more.
A broken pin, on the other hand, requires replacement.
Dismantling Your Chair and Replacing Old Parts
You need some tools, but nothing too fancy. Amongst your top priorities is to get yourself a good quality adjustable wrench. If you are using a screwdriver instead, you won’t tighten up the screws properly.
Here is a list of the things you need to dismantle and realign your office chair:
- A Phillips head screwdriver: This comes with most screwdrivers, so just use what comes with yours.
- Some small pliers: These aren’t essential, but they’re handy when tightening nuts and bolts.
- An adjustable wrench: Adjustable wrenches are excellent because they allow you to adjust the tightness of the nut without having to remove it from its hole first. They usually cost around $10-$20, depending on brand/quality.
- A measuring tape: For those who like numbers, this is important. Measure out exactly how far back your seat goes before adjusting anything. Make sure you measure both sides. Also, note down which side you measured last time.
Read more: How to Disassemble Office Chair – a Step by Step Guide
How To Remove The Seat Panels
The first thing you should do is loosen the screws holding the seat panels together. Secondly, lift each panel away from the frame until you see the two plastic clips underneath.
Pull the clips apart and slide the entire assembly towards the front of the chair. Once you have removed the whole piece, place it somewhere safe.
Removing Old Hardware
Start by loosening the screws holding the base plate into position. Next, pull the metal bracket upwards and backward.
Grab the bottom edge of the metal bracket and gently push it forward. Do this slowly and carefully. Otherwise, you could damage something else.
Keep pushing until you feel resistance. At this point, you should be able to pull the metal bracket completely free. Take care not to drop it anywhere, though, since it contains valuable parts. So, place it safely somewhere.
After this, you should focus on the top part of the metal bracket. Loosen the screws holding it into place. Carefully pry the metal bracket upwards and forwards.
Again, keep pulling slowly and steadily. Once you feel resistance, stop moving and let go. Grab the end of the metal bracket and give it a gentle tug downwards. Slowly release pressure on the screws.
Once you have pulled the metal bracket entirely free, put it aside.
Installing New Parts
Begin installing the new components by placing the metal brackets over the existing ones. Doing this ensures that nothing gets damaged when tightening the nuts.
Tighten the bolts one at a time using a wrench. Be careful not to over-tighten them.
Afterward, install the metal plates. These are held in place by small tabs inside the holes. Use pliers to press these tabs inward and then insert the metal plates. Repeat these steps for the other side.
You should attach your seat pan next. Start by screwing the metal bar into place. Don’t forget to check the height of the seat pan against the original measurements. Adjust accordingly.
Fixing the Backrest
The last component to install is the backrest. To get started, remove the screws holding the backrest onto its separate support structure. Remove the backrest and lay it flat on your desk.
Make sure there isn’t anything under the backrest before lifting it off. Once confident, take out the screws holding the support structure into place.
Lift the support structure out of the way and remove the backrest. Lay the backrest down on your desk again and slide the two halves together. Attach each half separately using the same method described above. When finished, reattach the support structure and secure it with screws.
Fixing the Armrests
You can easily adjust your armrests’ position without having to do much more than unscrewing them. Just be careful while doing this because the parts are delicate.
To start,
- Grab both arms and lift them away from the chair frame.
- Gently push the arms back towards the rear of the chair. They should move freely now.
- Re-tighten the screws once everything has settled properly.
Once you finish assembling the office chair, test it.
Frequently Asked Questions
How Do I Stop Sitting Lean Forward?
You stop sitting as you lean forward by ensuring that your chair does not tilt forward. Additionally, positioning a tennis ball between your back and the backrest keeps you upright as you don’t get too absorbed on your screen.
Should Armrests Be Level With Desk?
Your armrests should be level with your desk. If your chair leans forward, it misaligns your armrests. Proper armrest alignment may relieve your spine, lower body pain, and delay tiredness.
Conclusion
Fixing an office chair that leans forward isn’t as complicated or expensive as you might think. Besides, it makes the difference between sitting in pain for hours at work every day versus sitting comfortably all day long.
Recommended Reading

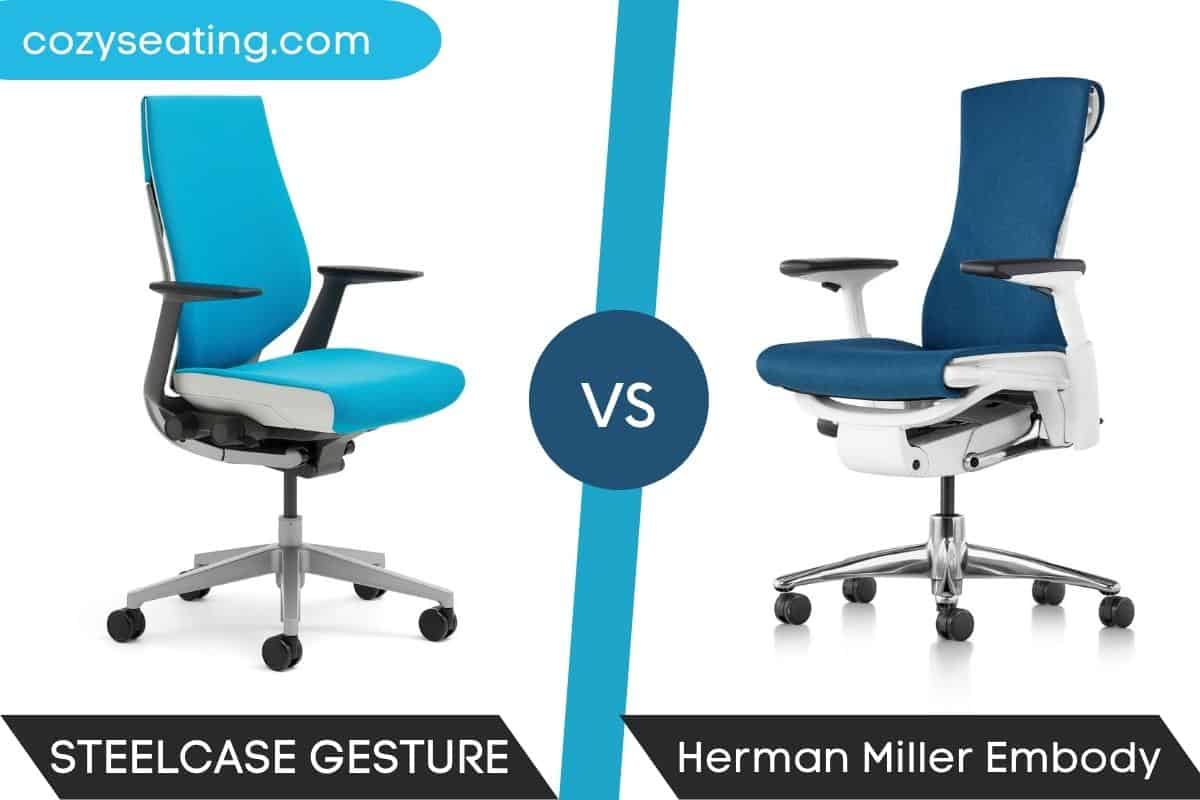
Steelcase Gesture vs Herman Miller Embody
Steelcase Gesture vs Herman Miller Embody: what should you get? Check out this detailed comparison to quickly identify your winner.
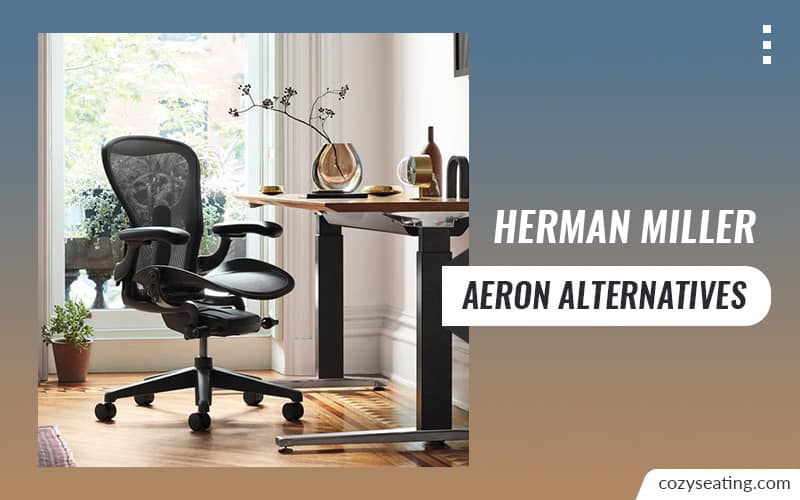
Top 10 Herman Miller Aeron Alternatives
Here's a list of the top 10 Herman Miller Aeron alternatives. If you're looking for an affordable and ergonomic chair, this article has you covered.
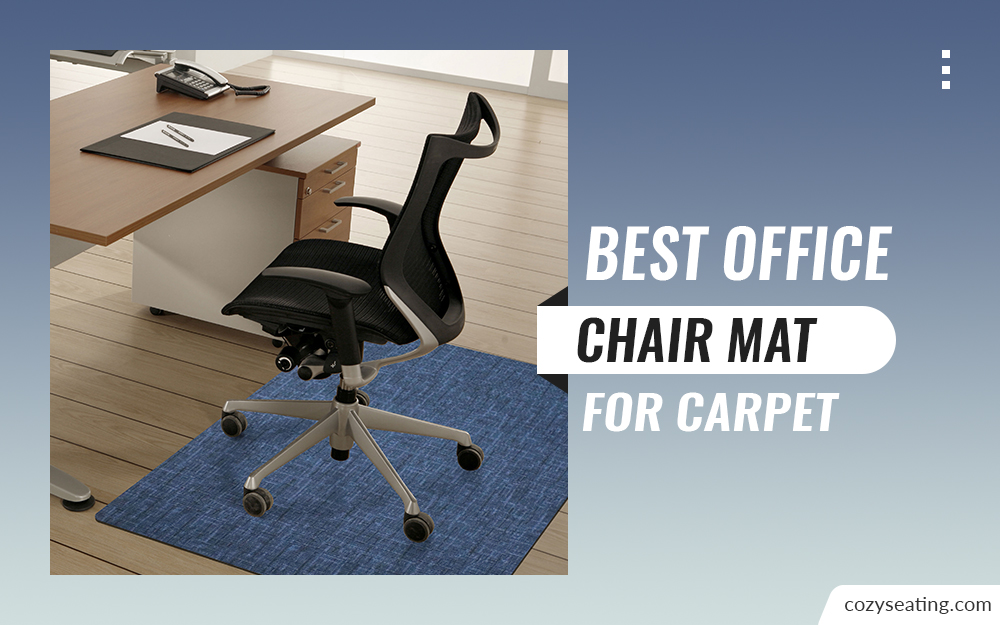
8 Best Office Chair Mat for Carpet (Top Picks)
Get yourself the best office chair mat for carpet and protect your office carpet. Explore the various heavy-duty office chair mats currently on the market today.
10 Best Massage Office Chair (2022 – Top Picks)
Massage chairs are great for calming down after a long day's work or for taking a break without leaving the office. Here are the best massage office chairs.
