
Disclosure: This site is reader-supported & contains affiliate links. We may earn a commission through products purchased using links on this page. Learn more
No matter what material your recliner chair is stuffed with, the padding will flatten over time, making the chair quite uncomfortable.
Thankfully, you can breathe some new life in your favorite chair by adding some padding to it if it is still structurally sound. It will cost you to buy quality stuffing for restuffing, but it’s not half as much as you’d have spent to replace the chair.
Here, in this article, we’ll discuss why and when your recliner needs restuffing and share our expert guide on how to add padding to a recliner chair.
Table of Contents
When and Why Does A Recline Need Restuffing?
The main reason to restuff a recliner chair is to restore its comfort.
Usually, a recliner is stuffed with soft padding that cradles and supports you while sitting. This padding is also designed to rebound and fluff up when you get up.
However, over time, the padding loses its ability to become fluffed and bounce back over time due to constant use. If you have ever sat on an old chair, you know how uncomfortable it is. The old and flattened padding doesn’t give the support you need to sit comfortably hence the need to restuff your recliner chair.
What You Need To Add Padding To A Recliner
You’ll need a few simple tools to be able to add padding to your recliner chair. You may already own some of them too. But if you don’t, they can all be bought online or in your local furniture store. These include:
Furniture stuffing: This is the most crucial requirement in the whole process. There are many different options of furniture stuffing in the market that you can use for recliner restuffing. However, cotton batting comes highly recommended. It has the best feel, is easy to utilize, and can be stuffed to your preference.
Needle nose pliers: Before adding the new padding, you have to remove the old stuffing. The needle nose pliers will help you remove the staples along the seam to allow you to access the old padding. If you don’t have the pliers, you can use a large flat head screwdriver.
Industrial Stapler: Once you have added new stuffing to your recliner, you’ll need to close up the seam so as the stuffing stay in place. The industrial stapler will come in handy.
Glue gun: A glue gun will help you close up the seams in a discrete manner giving them a finished look.
Further Reading: Best Mission Style Recliner
How To Restuff A Recliner Seat
Restuffing a recliner chair takes several steps. Thankfully, most of the steps and the whole process won’t take much time. Let’s get to it.
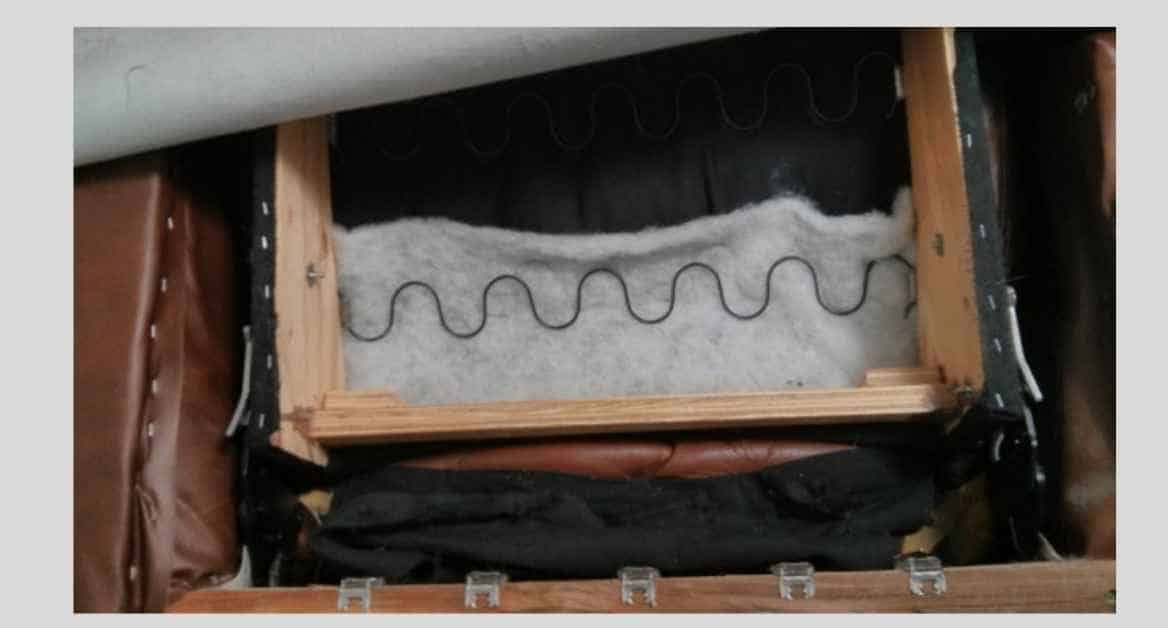
Locate And Open The Seam
First, locate the seam where the seat connects with the armchair. Then, carefully open it up by removing the staples or tacks used to hold the fabric along the seam using your needle nose pliers or flathead screwdriver.
Remove the old padding.
Reach in through the opening and remove the existing stuffing. Do this slowly and carefully to avoid tearing the upholstery material. Ensure that there is nothing left between the fabric and foam.
Add the new padding
Stuff the seat with cotton batting or any stuffing of your choice over the foam until it’s filled. Use a wooden dowel to push the padding into far corners and any other hard-to-reach areas. The dowel should have a round edge to avoid damaging the fabric.
Take your time to spread and fluff up the stuffing. That way, it will give you the amount of support you desire. You are free to add as much or as little as much padding that suits your preferences.
Close the fabric
Once the stuffing is filled, tightly stretch the fabric over the padding and close it up using an industrial stapler. The staples should be utmost 4 inches apart.
Conceal the seams
Using your glue gun, close up the seams for a more finished look. This step is optional, though. Allow the glue to dry before you resume enjoying your favorite chair completely.
Also read: The Easy Way of Repairing Different Parts of Your Recliner
How To Add Padding To Recliner Armrests
Open the seam
To locate the seam that holds the upholstery together, turn your chair to the side. Then use a flathead screwdriver or pliers to remove the staples.
Remove the fabric
Once the staples are safely removed, carefully remove the upholstery fabric. If you are adding padding to both armrests, be careful not to mix up the fabrics from each side.
Remove the existing padding.
Using a staple remover of your choice to remove the old padding from the armrests slowly. Please pay close attention to how it is attached. It will help you during reattaching of the new padding.
Shape the new padding material
Use the old padding as a template to trace and cut the new padding into an appropriate size.
Add the new padding
Place the new padding on the armrest and use an industrial stapler to attach it. Ensure that the new padding is in the same configuration as the previous padding to fit under the upholstery fabric.
Reattach the upholstery fabric
Carefully realign the fabric over the new padding. Ensure that it is enough to cover the stuffing, then use a stapler to close it up.
Enjoy
You can immediately test the new feel of your armrest. It will be as good as new.
Parting Shot
Pat yourself on the back, mate! You have saved yourself a chunk of money by learning how to add padding to your recliner. If you’d already stored your old recliner in the garage, go and dust it off in readiness for restuffing. In case it needs reupholstering, too, read our guides on how to choose an upholstery fabric and how to reupholster your recliner chair.
Author
Recommended Reading
How To Clean Leather Recliner (Pro Guide)
Learn how to clean leather recliner like a PRO to have it looking shiny and attractive for years to come.

How Much Does it Cost to Reupholster a Recliner?
How much does it cost to reupholster a recliner? I'll walk you through the process step-by-step and give you a ballpark estimate of the cost. So, read on.
How To Fix A Sagging Recliner Chair
Learning how to fix a sagging recliner chair is more appealing than replacing it. It will also save you lots of money. Here’s how.
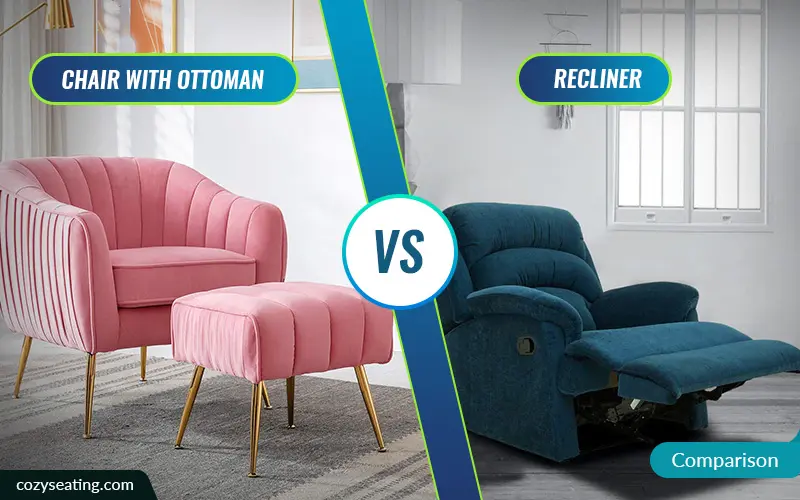
Chair with Ottoman vs. Recliner – Which One To Buy?
Chair with ottoman vs. recliner could be an easy choice to make if you go through our detailed article. Enter to read now!
Leave a Comment
Subscribe
0 Comments