Disclosure: This site is reader-supported & contains affiliate links. We may earn a commission through products purchased using links on this page. Learn more
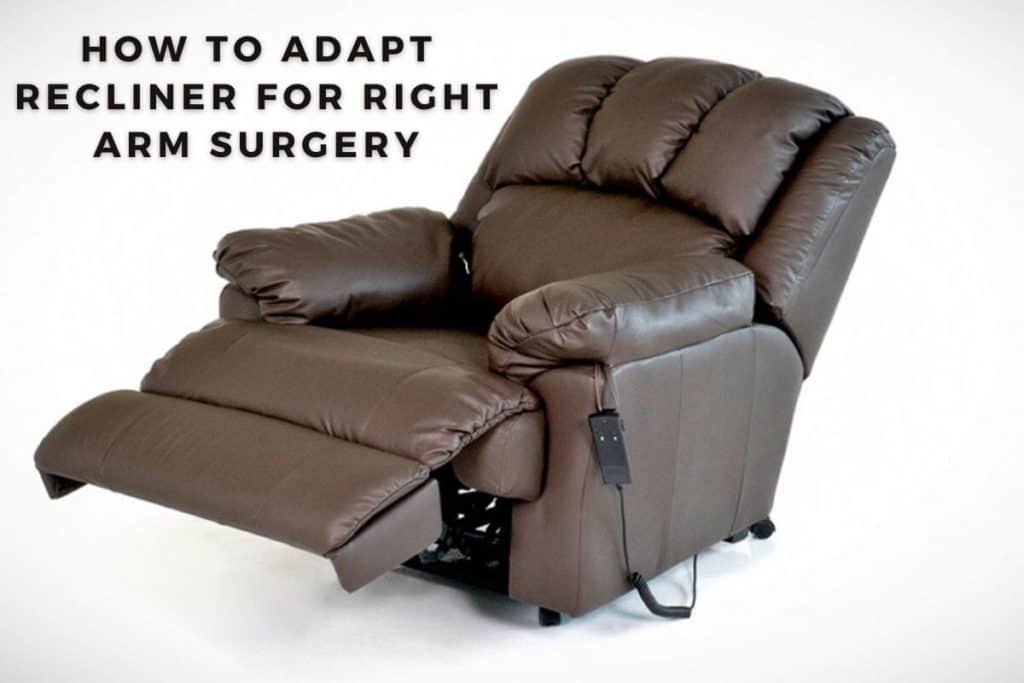
Operating a recliner, both power and manual, after you’ve had a right arm surgery can be uncomfortable. This is because recliners controls are usually on the right side.
In such situations, adapting a recliner is one of your options. In this article, we’ll guide you through how to adapt a recliner for right arm surgery.
Table of Contents
How To Adapt A Power Recliner For Right Arm Surgery
As the name suggests, power recliners use electricity to operate. This means that every feature of these chairs is controlled by a pair of a button placed on the right side of the chair. These buttons are connected to internal circuitry.
With a bit of know-how, you can temporarily shift the control buttons to the left-hand side and then reconnect them once your arm recovers.
Things needed
- Wires
- Veroboard or breadboard
- Double-sided tape
- Plastic tape
- Soldering iron and soldering wire
- Wire striper
- Measuring tape
Step 1: Remove Connections
Before doing anything else, ensure that the chair is disconnected from the power source. If the recliner is battery operated, remove the batteries. This is important for your safety.
Step 2: Remove the Buttons
Gently remove the buttons connected on the right side of the recliner and be careful not to remove the marks on the buttons.
Place the buttons in a bag or a container and keep them safe as you will need them later. It would be best if you wrote down the functionality of each button on a notepad to remember during reassembling.
Step 3: Cut the Wires
Use a measuring tape to measure the width of the sitting area of the recliner. This will help you know the length of the wire needed to shift the recliner’s control to the left side.
Use the wire strippers to cut the required length of wire. Then, strip off a small section of the wire on each end for insulation.
Step 4: Solder the Wires
Heat the soldering iron by connecting it to a power supply. Once it’s hot enough, carefully solder one end of the wire to the circuitry below the exposed button and the other to the Veroboard. It would be best if you used different coloured wires for different buttons. Also, be careful not to short two wires while soldering.
Step 5: Complete the Circuit
Connect some wires to the removed buttons and then use the double-sided tape to the Veroboard.
Take two wires from the Veroboard and connect them to the battery pack to provide power to both the board and the buttons.
Use the plastic tape to cover the remaining unused wires on each end. This is a safety measure to avoid any malfunctioning or short circuits.
Step 6: Attach the Veroboard
Using a hacksaw, cut off the unused part of the Veroboard to make it more compact. Then fix the compact veroboard on the left-hand side of the recliner using double-sided tape.
Ensure that the Veroboard is on a comfortable side for the user who has had an n arm surgery.
Step 7: Switch on The Power.
Connect the recliner to a power source and switch it to check whether the circuit is working correctly.
Adapting the USB Portal Of A Power Recliner
Most power recliners have a USB portal that allows the user to charge their phone or other electronic devices while relaxing on the recliner.
Like the control buttons, it,s possible to adapt the USB portal to the left-hand side. However, it is a bit more complicated compared to adapting the buttons.
Remove the USB port with care to avoid damaging the wires. Then, connect the three wires of the USB port to the Veroboard, following the guidelines given above.
How To Adapt A Manual Recliner For Right Arm Surgery
Adapting a manual recliner is a sweaty affair. This is because you have to push its rear mechanism into a position that requires a lot of force. It would therefore be best if you found a friend or a family member to help you.
Related:
Tools and materials required
- A screwdriver
- Measuring tape
- Drilling machine
- Scissors
- PVC pipes
- Screws and nuts
- Duct tapes
- A piece of cloth
Step 1: Measure and Cut The PVC
Use the measuring tape to measure the height of the armrest and the length of the lever. These measurements will help you determine the length of PVC pipes you require.
Cut a PVC pipe needed and use it to cover the lever. We recommend using duct tape to attach it for easier reassembly when your right hand heals.
The next step is to attach a smaller PVC to the covering PVC. Ensure that its length extends beyond the armrests.
Step 2: Drill and Attach
Drill the smaller PVC and attach it to the left side of the chair horizontally using nuts and screws. Then attach the longer PVC to the small extension using screws.
Attach another pipe horizontally to the PVC so that it can act as the handle. It should also be affixed with screws and nuts.
Step 3: Test
After you are done attaching the temporary lever, you should test it to ensure it works. Use your left hand to rotate the lever to raise and lower the footrest.
Step 4: Cover It Up
Just because it’s temporary, it doesn’t have to look shabby. Use a cloth that blends with the recliner’s upholstery to cover the temporary lever. It would be best if the cloth had a similar colour.
Disclaimer: The lever on a manual recliner only controls the footrest. You will still require to use your body weight to push the backrest into a comfortable position.
While pushing the backrest, remember to take care of your injured arm. Constant recoils from the recliner can cause more damage to your arm.
Final Words
A recliner is your go-to comfort zone, especially when you are sick. However, when you’ve had arm surgery, operating the recliner is very difficult. With the above handy tips, you can adapt your recliner for right arm surgery. The manual recliner requires a more mechanical approach, while power recliners need more replacements
Recommended Reading

What Are the Different Types of Recliners?
If you want to learn more about different recliners that will suit your comfort and luxury, you are in the right place. This guide offers the different types of recliners currently in the market.

Top 10 Best Recliner Brands Review in 2022
Here’s some information to make your recliner chair search much easier: The best recliner brands in 2022. Keep these top-rated recliner brands in mind when you are out shopping for a new recliner.
How to Make a Slipcover for a Recliner
Slipcovers add elegance to your recliner. Thankfully, making them is simple and cost effective. This article discusses how to make a slipcover for a recliner.

What is A Chair-And-A-Half: Everything You Need to Know
What is a chair-and-a-half? Read on to discover everything you should know about this piece of furniture that has shook the seating furniture scene.
